Cutscene
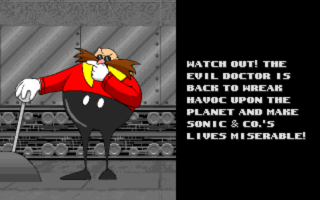
SRB2 supports cutscenes that consist of images with overlaid text. SRB2's own intro sequence is such a cutscene, for example. Via SOC, users can create their own cutscenes. They can be used as custom intro or credits sequences, or between levels.
Format
A cutscene section in a SOC consists of two elements: a header and scene blocks. The header defines the number of the cutscene, so it can be easily referenced, as well as the number of scenes it contains. Then, as many scene blocks as were defined in the header will follow. In the scene block itself, the variables for each scene, such as the picture and text to display, are set.
Header
Cutscenedefines the number of the cutscene. This is the number that you need to reference when implementing the cutscene. There cannot be more than 128 custom cutscenes.NumScenesdefines the number of scenes that the cutscene will have. This number should match the number of scene blocks that will follow afterwards. There cannot be more than 128 scenes in a cutscene.
Cutscene 1
NumScenes 1
Scene blocks
Scenedefines the number of the scene. This line starts a scene block.NumberOfPicssets the number of pictures that exist in the scene. Up to 8 pictures per scene are supported. If a scene consists of multiple pictures, the game will cycle through them one by one, like a slideshow. Each picture is shown for a specific duration before moving on to the next one, until all pictures have been shown.- The next section of the scene block defines the parameters for each picture defined in
NumberOfPics. The names of the parameters depend on the picture number – for each picture number i, there are five parameters:PiciName,PiciHires,PiciDuration,PiciXCoordandPiciYCord. Below the parameters are explained using picture 1 as an example.Pic1Nameis the lump name of the picture used in the scene. The lump referenced must be in Doom Graphics Format; otherwise the game will crash.Pic1Hiresdefines whether the picture is in high resolution (if set totrueor 1) or not (if set tofalseor 0). Picture placement is based on a 320×200 resolution base screen. A high resolution picture has double the width and height of a normal resolution picture. For example, if a normal resolution picture were to cover up the entire screen, its size would be 320×200. A high resolution version of the picture would be 640×400.Pic1Durationis the amount of time the individual picture will stay on the screen, measured in tics. Remember that 35 tics = 1 second. After the duration is over, either the next picture will be displayed, or the scene ends if there is none. Note that the total length of the scene is based not just on the sum of the individual picture durations, but also on the time it takes to display the scene's text. The scene will end either after all pictures have been displayed or a few seconds after the text has finished displaying, whatever comes first.Pic1XCoordis the X-axis, or horizontal, position of the picture on the screen, measured in pixels. Note that positioning is based on a 320×200 resolution base screen. If the picture's X coordinate is 10, it will be placed 10 pixels to the right of the left border on a 320×200 screen. For higher screen resolutions, the sizes and positions are scaled proportionally, e.g., on a 640×400 screen a picture with an X coordinate of 10 will be placed 20 pixels to the right.Pic1YCoordis the Y-axis, or vertical, position of the picture on the screen, measured in pixels.
TextXPosis the X-axis, or horizontal, position of the text block on the screen, measured in pixels.TextYPosis the Y-axis, or vertical, position of the text block on the screen, measured in pixels.Musicspecifies the name of the music track that is played during the scene. Music tracks are identified by a name consisting of at most six characters, which is the same as name of the lump that stores the music, but without theO_orD_prefix. For example, if you want the music stored in the lumpO_EXAMPLto be played, set this parameter toEXAMPL. You can either use the music supplied in SRB2 itself or supply a custom music lump. See Sound and music tutorial for an explanation of how to supply custom music, and List of music for a list of music tracks available in SRB2. If this parameter is left out (or set to 0), the music from the previous scene will continue to play – if this scene is the first scene in the cutscene, any music playing will be stopped upon starting the cutscene.MusicSlotis a deprecated version of theMusicparameter. It exists only for backwards compatibility and should not be used.
MusicPosspecifies the position in the scene's music track, given as a time in milliseconds, that the scene will begin playing the track from. If set to 0, the music track will be played from the beginning. Note: This feature only works for music tracks in a format supported by the Game Music Emu library.MusicLoopdetermines whether the music will loop when changing between scenes (if set totrueor 1) or not (if set tofalseor 0).FadeInIDdetermines the ID of the screen fade to use at the start of the scene. Defaults to 0 if not defined.FadeOutIDdetermines the ID of the screen fade to use at the end of the scene. Defaults to 0 if not defined.FadeColordetermines the palette color number to fade from at the start of the scene. Defaults to 0 if not defined.SceneTextsets the text that is displayed when the scene is playing. Note that the amount of characters that can be on an individual line are limited by the 320×200 base screen. For large amounts of text, such as an entire paragraph, use line breaks at the appropriate places to simulate text wrapping. To end a block of text, the # character should be used. Custom colors can be freely used in the text, and special characters can be used to control the way it is displayed to the player (see below).
Scene 1
NumberOfPics = 1
Pic1Name = INTRO3
Pic1Hires = true
Pic1Duration = 35
Pic1XCoord = 0
Pic1YCoord = 0
TextXPos = 8
TextYPos = 48
Music = MAPA1M
MusicLoop = true
SceneText = Two months had passed since Dr. Eggman
tried to take over the world using his
ring satellite.
      #
Cutscene text codes
Special characters, usually placed in the text by the hex input codes, can be used to control how the text is displayed. These include:
\A0through\AFcontrol the speed of the text displayed at any point within it.
| Code | Characters per frame | Display per second |
|---|---|---|
\A0 |
8 : 1 | 280 characters per second (fastest, default speed when Spin key is held) |
\A1 |
7 : 1 | 245 characters per second |
\A2 |
6 : 1 | 210 characters per second |
\A3 |
5 : 1 | 175 characters per second |
\A4 |
4 : 1 | 140 characters per second |
\A5 |
3 : 1 | 105 characters per second |
\A6 |
2 : 1 | 70 characters per second |
\A7 |
1 : 1 | 35 characters per second |
\A8 |
1 : 2 | ~17 characters per second |
\A9 |
1 : 3 | ~11 characters per second (default speed) |
\AA |
1 : 4 | ~8 characters per second |
\AB |
1 : 5 | 7 characters per second |
\AC |
1 : 6 | ~6 characters per second |
\AD |
1 : 7 | 5 characters per second |
\AE |
1 : 8 | ~4 characters per second |
\AF |
1 : 9 | ~3 characters per second (slowest speed) |
\B0through\D2insert a pause into the text. When a pause character is reached, the game will immediately stop displaying new characters until the specified amount of time has passed. The length of time is defined by the character code, where\B0is a 1 frame pause, and every following code makes the pause longer (e.g.:\B8is a 9 frame pause, or about a quarter of a second). The last code allowed is\D2, which inserts a full second (35 frame) pause. Longer pauses can be achieved by placing multiple of these codes back to back. Note that the Spin key's speedup feature will ignore pauses, however.
- There is a caveat to using these codes: If you use a text speed that outputs more than one character per frame (e.g.
\A0), and switch back to a speed that draws one character per n frames (e.g.,\A9), multiple characters may be drawn after the speed control code. To avoid this behavior, place a one frame pause (\B0) directly after the speed code.
Implementation
For the cutscene to be played in the game, it must be implemented in some way to define where it will appear. A cutscene can be implemented in one of four ways: as the intro cutscene, before starting a level, after completing a level, or as the credits cutscene.
- Intro cutscene: A cutscene can be implemented to replace the intro cutscene that plays when SRB2 starts. This is done with the
IntroToPlayparameter in theMainCfgblock, which should be set to the cutscene that you want to play.
MainCfg
IntroToPlay = 1
- Pre-level cutscene: A cutscene can be played before a certain level starts. This is an option in the level header. In the map's level header, set
PreCutsceneNumto the cutscene that you want to play.
Level 1
PreCutsceneNum = 1
- Post-level cutscene: A cutscene can be played after a certain level has ended. This is an option in the level header. In the map's level header, set
CutsceneNumto the cutscene that you want to play.
Level 1
CutsceneNum = 1
- Credits cutscene: A cutscene can be implemented to replace the credits cutscene that plays after the main SRB2 game is completed. This is done with the
CreditsCutsceneparameter in theMainCfgblock, which should be set to the cutscene that you want to play.
MainCfg
CreditsCutscene = 1
Examples
Below are examples for typical cutscene setups, each accompanied by a screenshot showing how the cutscene looks in-game.
Textless cutscene
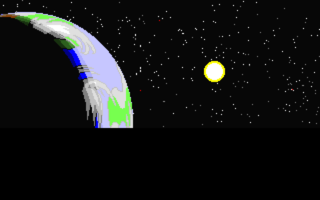
The key to making textless cutscenes is the positioning of the text block. Set TextYPos = 320 so that the vertical positioning of the textbox is outside of the 320×200 resolution base screen. For SceneText, simply use a line break directly after the equal sign and skip directly to the last line.
Cutscene 1
NumScenes 1
Scene 1
NumberOfPics = 1
Pic1Name = INTRO3
Pic1Duration = 210
Pic1XCoord = 0
Pic1YCoord = 0
TextXPos = 1
TextYPos = 320
Music = READ_M
SceneText =
      #
|
|
Cutscene with text, single picture
This is what most cutscenes look like: a single picture with accompanying text.
Cutscene with text, multiple pictures
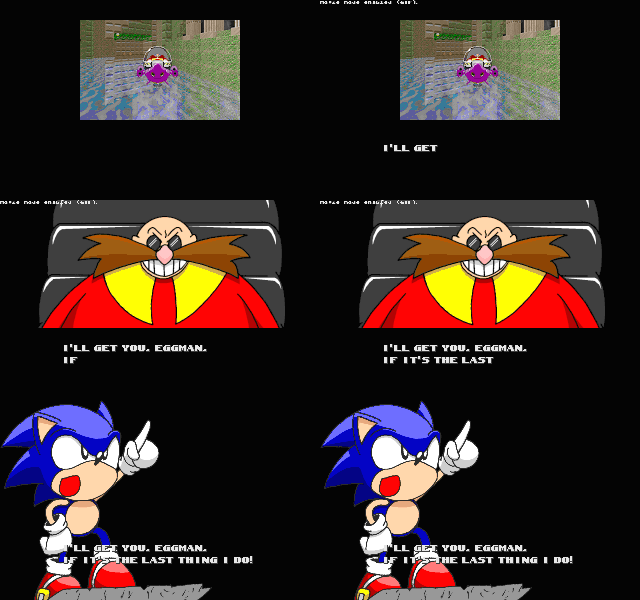
Using multiple pictures in a scene is especially useful for making pseudo-animations by letting pictures follow each other in quick succession. This example doesn't cover such a use, but it demonstrates the slideshow-like properties of using multiple pictures.
Multi-scene cutscene
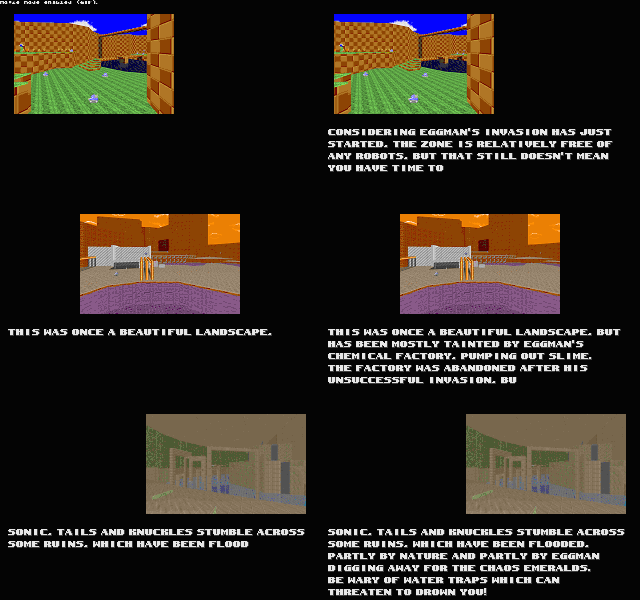
A typical cutscene will have multiple scenes defined, such as this one.
| SOC | [view] | |
| General | Clear • MainCfg
| |
| Objects | Object • State • Sound • Sprite2 • SpriteInfo • Sprite2Info • Freeslot
| |
| Unlockable content | Emblem • ExtraEmblem • Unlockable • ConditionSet
| |
| Miscellaneous | Wipes • Character • Level • Cutscene / Scene • Prompt • Menu • HudItem
| |
| Related links | Actions • Constants • Custom Object tutorial | |
